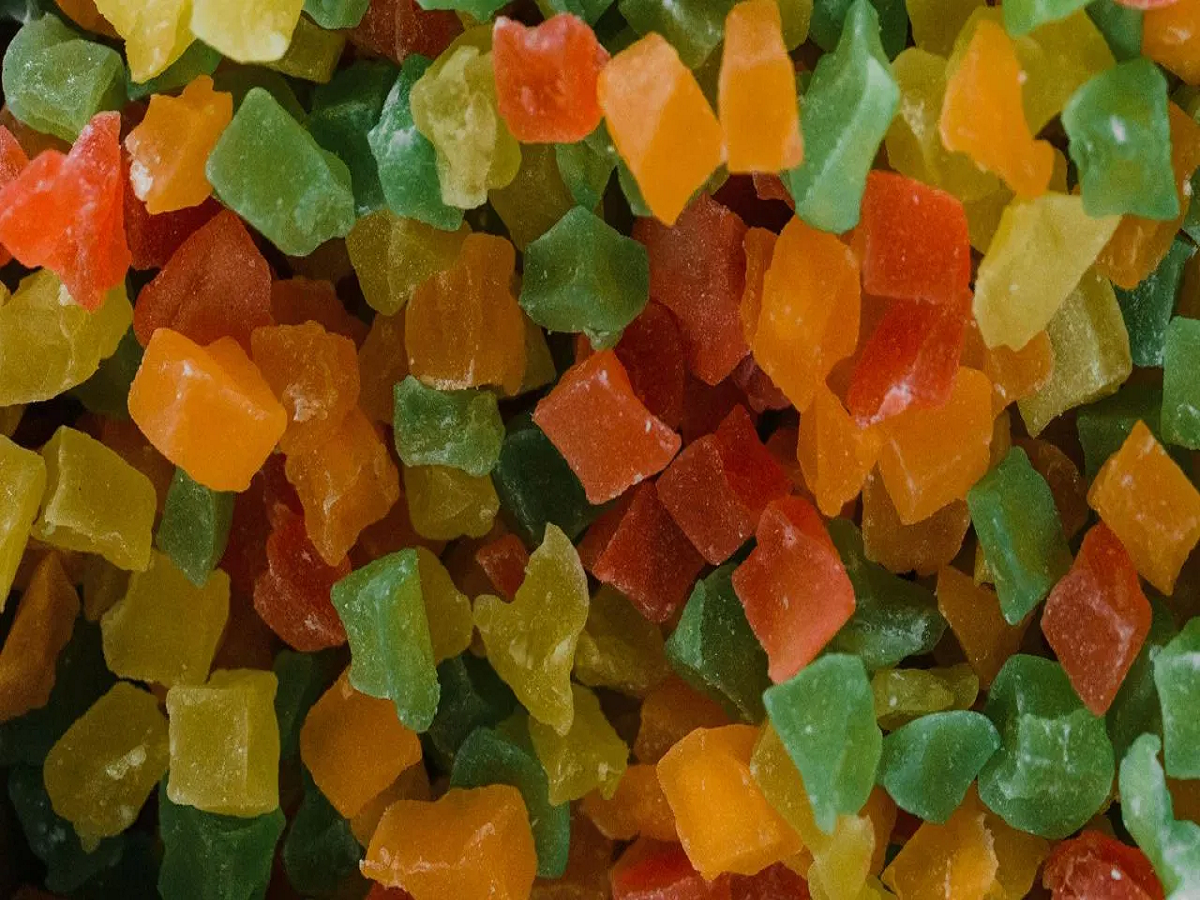
The sight of vibrant tutti-frutti instantly brings a smile to both kids and adults. Whether it’s sprinkled on an ice cream sundae, baked into a moist cake, or tucked inside a sweet bun, these tiny colorful gems are a kitchen staple. While store-bought versions are common, they can't match the hygiene and quality of a homemade batch—and the secret ingredient is likely sitting in your kitchen right now: Raw Papaya.
Because unripe papaya has a mild, neutral flavor, it acts like a blank canvas, perfectly absorbing sweetness and bright colors. This is actually how the professional-grade tutti-frutti you find in bakeries is made!
The Power of Raw Papaya
Beyond its versatility in sweets, raw papaya is a nutritional heavyweight. Making your own tutti-frutti allows you to skip the preservatives while keeping these benefits:
-
Digestive Aid: It contains papain, a powerful enzyme that helps break down proteins and soothe the stomach.
-
Immunity & Skin: It is rich in Vitamins A and C, which are essential for glowing skin and a strong immune system.
-
Fiber-Rich: High fiber content supports weight management and body detoxification.
-
Mineral Boost: It provides essential Potassium and Folate for overall heart and cellular health.
Your 5-Step Tutti-Frutti Guide
What You'll Need:
-
1 medium raw papaya
-
2 cups sugar
-
3 cups water
-
Food colors (Red, Green, Yellow)
-
1 tsp Vanilla essence & 1 tbsp Lemon juice
Step 1: Prep the Fruit
Peel the raw papaya and discard the seeds. Slice the flesh into uniform, tiny cubes.
Step 2: The Quick Blanch
Boil the cubes in a pot of water for about 5 to 7 minutes. You want them to be slightly translucent but still firm—be careful not to overcook them into a mush. Drain the water.
Step 3: The Sweet Infusion
In a separate pan, combine sugar and water to create a syrup. Once the sugar dissolves, stir in the lemon juice (to prevent crystallization) and vanilla essence. Add your papaya cubes and simmer for 10 to 15 minutes until the pieces are soaked through with sweetness.
Step 4: The Color Splash
Divide the syrup-soaked pieces into separate bowls. Add a different food color to each bowl and mix well. Let them rest for at least 8 hours or overnight so the colors can set deep into the fruit.
Step 5: The Final Dry
Strain the pieces to remove excess syrup. Spread them out on a large tray or plate. Let them air-dry for a few hours until they are no longer sticky.
Pro Tip: Once dried, store your colorful creations in an airtight container in the fridge. They’ll stay fresh for weeks, ready to brighten up your next dessert!